Adding Assets and Kits to a Booking
This guide explains how to add equipment to a booking in Shelf, covering the process for adding both individual assets and pre-configured kits to time-based check-outs.
After configuring the name, booking period and custodian for a booking you can start adding assets and/or kits. Configuring the booking period prior to adding assets or kits is required because the system needs to know if the selected assets will be available for booking during that period. It could be that certain assets are already part of a booking during the selected period.
Adding assets to a booking
Clicking Add assets will open an asset manager modal that allows you to browse assets available during the specified booking period. Use the filters and search bar to quickly find the assets you would like to add.
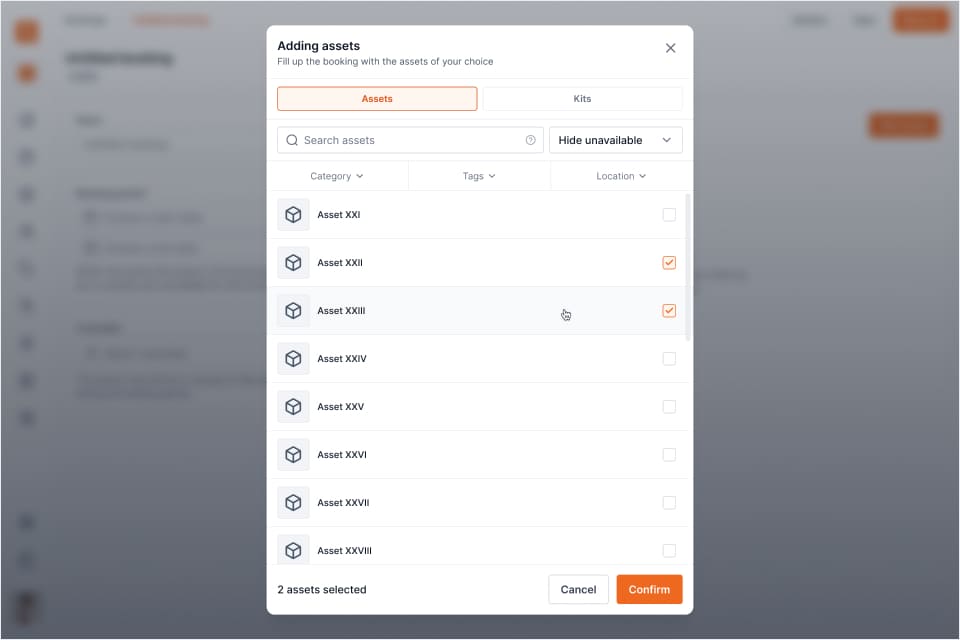

- Click Manage assets
- Select the Assets you would like to add by checking them
- Use the filters or search bar to quickly find assets
- Click Confirm to add your selection of assets to the booking
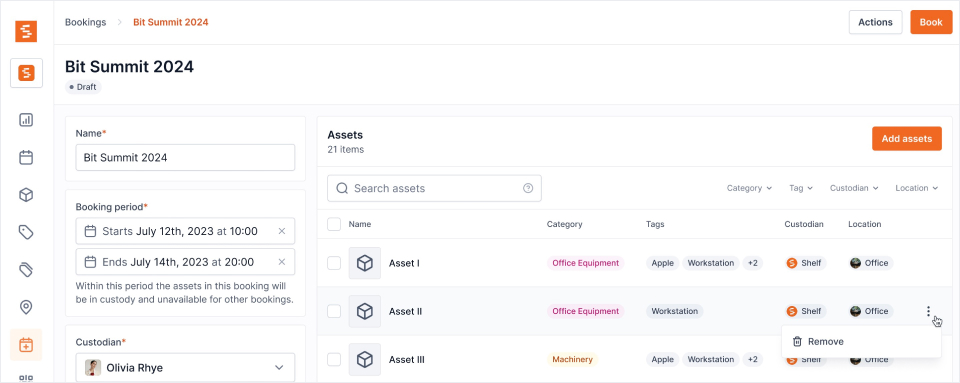
Removing assets from a booking
- Find the asset(s) you would like to remove in the index
- Click the dropdown icon and click Remove
- Alternatively, click Manage assets, uncheck the asset(s) you would like to remove and Confirm
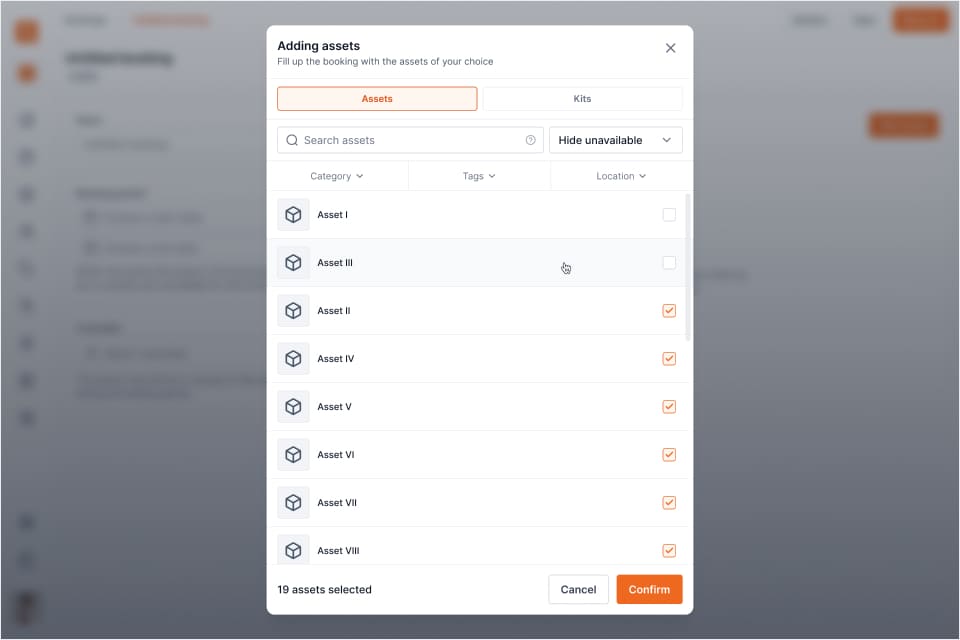
Adding kits to a booking
If you or other users have configured one or more kits you'll be able to utilize this when creating a booking. By adding a kit to a booking you are simply adding assets that are grouped together at once.
- Click Manage assets
- Switch from Assets to Kits using the tabs
- Select one or multiple kits
- Click Confirm to add your selection of kits to the booking
Finding and sorting assets on a booking
Once assets are on a booking, the asset list on the booking page has its own search and a Location column so you can find items quickly — useful on large bookings where scrolling isn't practical.
- Search the list by typing in the search bar. It matches across an asset's name, asset ID, category, location, tags, and its QR and barcode values. Separate multiple terms with a comma to match any of them (for example,
studio a, lensreturns items in Studio A and anything named "lens"). If a match falls inside a kit, the whole kit is shown so you keep the full bundle in view. - Location column: each row shows where the asset (or kit) is stored. Click the Location column header to sort the list by location — handy for grouping a pull list by room or shelf before checkout.
The search you apply here also carries through to the Generate PDF overview, so you can print a focused list of just the matching items. See How to Generate a PDF Overview.
Related articles
Ready to try Shelf?
Put what you're learning into practice. Free plan available — no credit card required.